Dutch Marbling: Mastering the Komorebi Technique
Explore the intricacies of Dutch marbling, known for its delicate and intricate patterns. This article breaks down the Komorebi technique, offering step-by-step guidance.
What is Dutch Marbling?
Unlike Turkish or Japanese marbling, Dutch marbling (also known as Dutch paper marbling) relies on a thickened size layer beneath the pigments. This creates a characteristic "floating" effect where colors resist blending significantly, leading to sharp, defined patterns. The density of the size allows for a more controlled application of the colors, resulting in the stunning, complex designs that define the style.
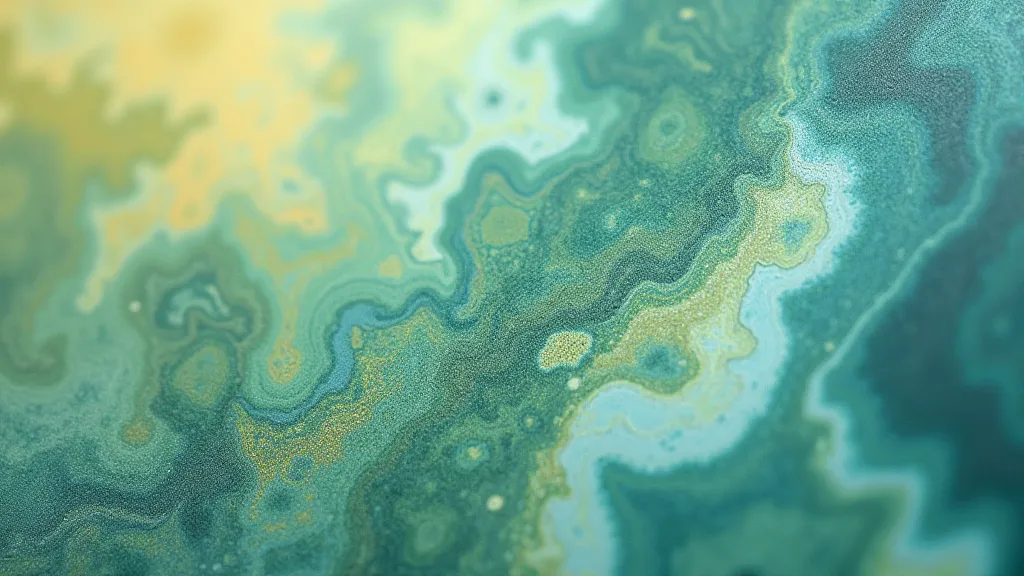
Understanding the Komorebi Effect
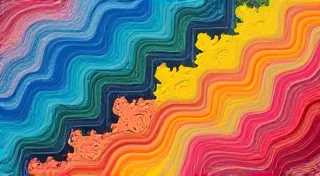
Komorebi (木漏れ日) is a beautiful Japanese word that describes the effect of sunlight filtering through the leaves of trees – dappled light and shadow dancing across a surface. In Dutch marbling, the Komorebi technique aims to replicate this visual effect. It’s a relatively advanced technique that focuses on creating a subtle interplay of color and negative space, resulting in a layered, almost ethereal appearance. It's not about large, bold shapes, but rather a delicate dance of pigments.
Materials You'll Need
- Methyl Cellulose (MC): This is your thickening agent and the foundation of your size layer. It's crucial for controlling the pigments.
- Water: Distilled water is best to avoid mineral interference.
- Pigments: Acrylic paints are a good starting point, but traditional marbling pigments can also be used. Choose colors that complement each other.
- Fixative: To prevent the colors from bleeding further after marbling.
- Paper: Absorbent paper is essential. Watercolor paper or printmaking paper works well.
- Marbling Tray: A shallow tray large enough to accommodate your paper.
- Droppers or Pipettes: For precise pigment application.
- Rake or Comb (optional): For creating more structured patterns, though Komorebi often benefits from more organic application.
Step-by-Step Guide: Creating Komorebi
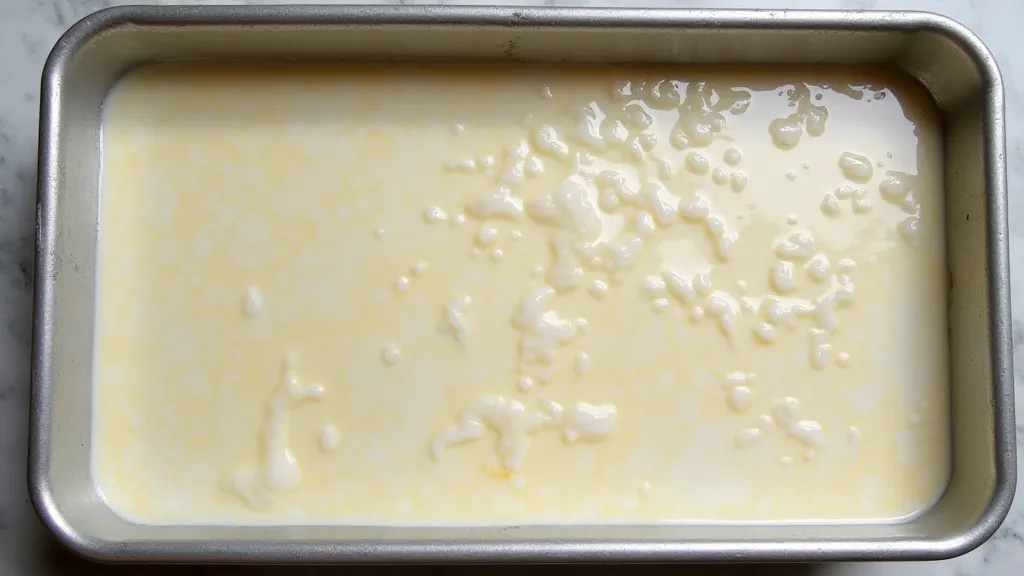
- Prepare the Size Layer: Mix methyl cellulose with water according to the manufacturer's instructions. The consistency should be similar to cream. Pour this mixture into your marbling tray, ensuring an even layer. Let it sit for at least 30 minutes for the bubbles to dissipate.
- Apply the First Color (Base Layer): Carefully drop small amounts of your first color onto the size layer. The color should float on the surface, barely spreading. This layer will be visible through the subsequent colors, so choose a subtle tone. Consider a pale green or blue.
- Apply the Secondary Colors: Using a dropper, introduce a second and third color, strategically placed around the first. Avoid direct contact between the colors at this stage. The key is subtlety - small drops and intentional spacing.
- The 'Push' Technique: This is where the Komorebi effect really comes alive. Gently 'push' the colors together. Not a vigorous mix, but a very soft, almost hesitant movement. You can use the tip of a dropper or a toothpick. This subtle blending will create the layered look.
- Lay the Paper: Carefully lower your paper onto the surface of the marbling bath. Ensure it's level and gently press down. Don't shake or jostle the tray.
- Lift the Paper: After a few seconds (around 30 seconds is a good starting point), slowly and evenly lift the paper from the bath.
- Dry the Paper: Hang the paper to dry completely.
- Apply Fixative: Once dry, apply a light coat of fixative to prevent the colors from bleeding. Repeat if necessary.
Tips for Success
- Practice Makes Perfect: Dutch marbling is a technically demanding art form. Don't be discouraged by initial failures.
- Experiment with Colors: While subtle colors work best for Komorebi, don’t be afraid to experiment.
- Control the Size: The consistency of your size layer is paramount.
- Embrace Imperfection: The beauty of hand-marbled paper often lies in its unique imperfections.
Further Exploration
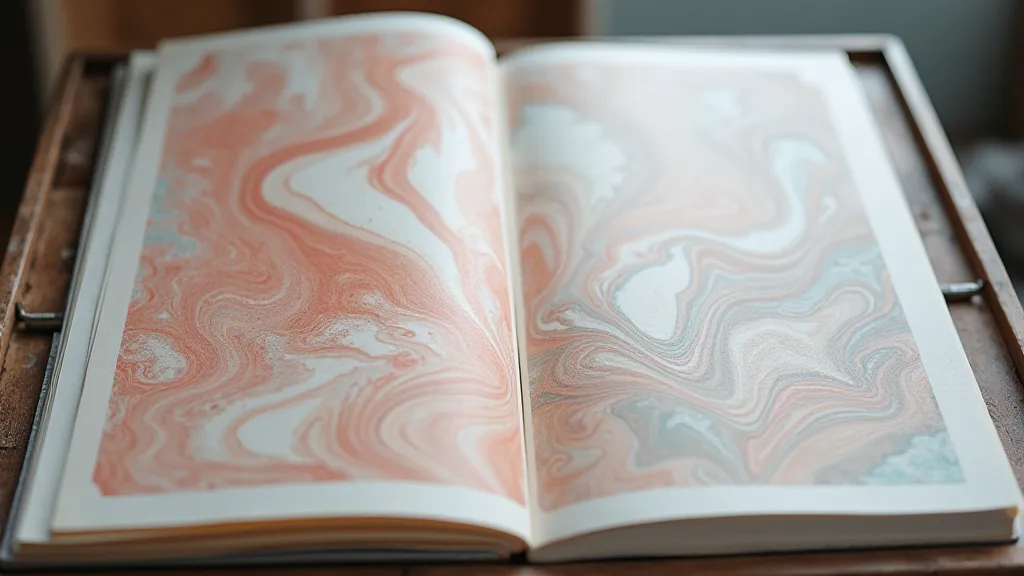
The Komorebi technique is a journey of patience and precision. With practice, you’ll be creating stunningly beautiful decorative paper that captures the essence of dappled sunlight.