Adding Gold Leaf to Your Marbled Paper: A Touch of Luxury
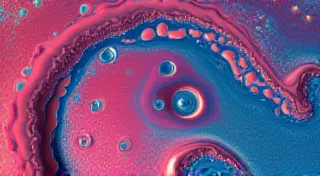
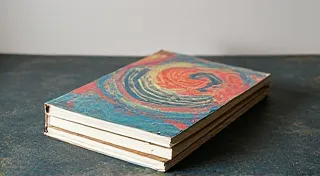
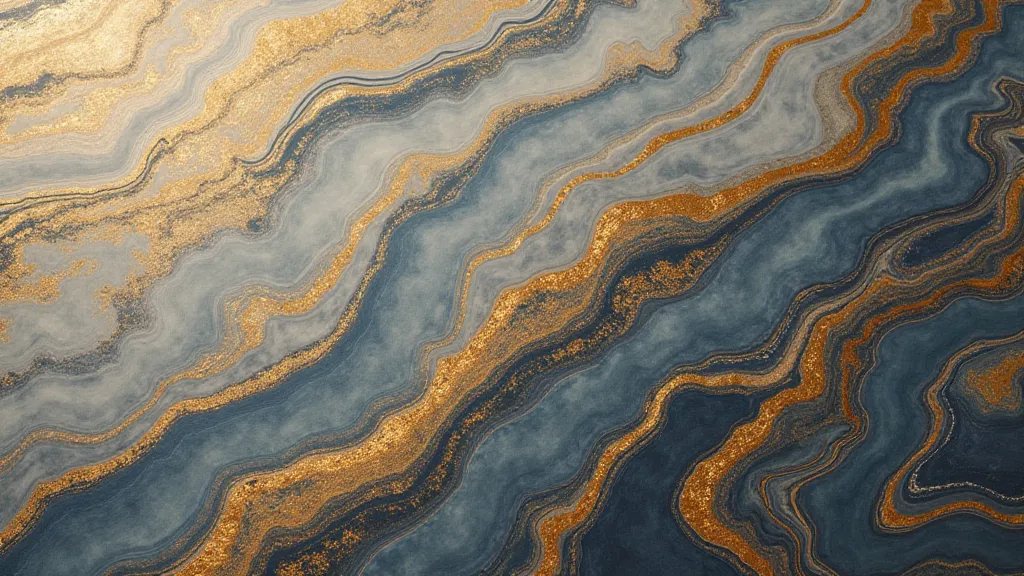
Your marbled paper is gorgeous! You've mastered the swirls, the colors dance beautifully – but what if you could take it to the next level? Adding gold leaf is a stunning way to enhance your paper marbling projects, adding a touch of opulence and sophistication. This tutorial will guide you through the process, even if you've never worked with gold leaf before.
What is Gold Leaf and Why Use It?
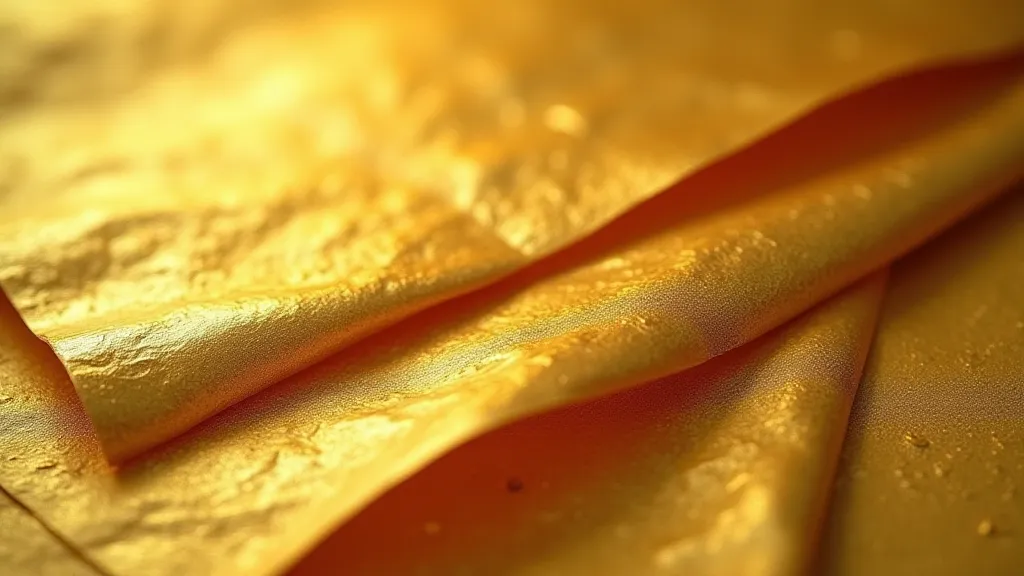
Gold leaf isn't like gold paint. It’s incredibly thin sheets of gold – we’re talking about layers just microns thick! This makes it incredibly malleable and allows it to adhere beautifully to surfaces, unlike paint which can obscure the intricate marbled details.
The subtle shimmer and luxurious feel of gold leaf elevates any paper marbling project, whether you’re creating handmade cards, book covers, gift wrapping, or simply want to create unique decorative paper.
Materials You’ll Need
- Your marbled paper (freshly marbled and dried is best)
- Genuine gold leaf (available online and at craft stores)
- Gold leaf adhesive (also known as sizing) – specific for gold leaf application
- Soft brush (a wide, soft brush is ideal)
- Soft cloth or burnishing tool (for smoothing the gold leaf)
- Tweezers (optional, for precise placement)
- Safe surface to work on (avoiding dust)
Step-by-Step Guide: Applying Gold Leaf
- Prepare Your Paper: Ensure your marbled paper is completely dry. Any moisture can prevent the gold leaf from adhering properly.
- Apply the Gold Leaf Adhesive: This is the crucial step. Using your soft brush, apply a thin, even layer of gold leaf adhesive to the area of your paper where you want the gold leaf to be. Let the adhesive dry completely – usually about 20-30 minutes. It should be tacky to the touch, not wet.
- Apply the Gold Leaf: Gently lift a sheet of gold leaf from its backing. It is incredibly fragile, so handle it with utmost care. Place the gold leaf onto the adhesive layer. Don't press or rub – let it settle naturally.
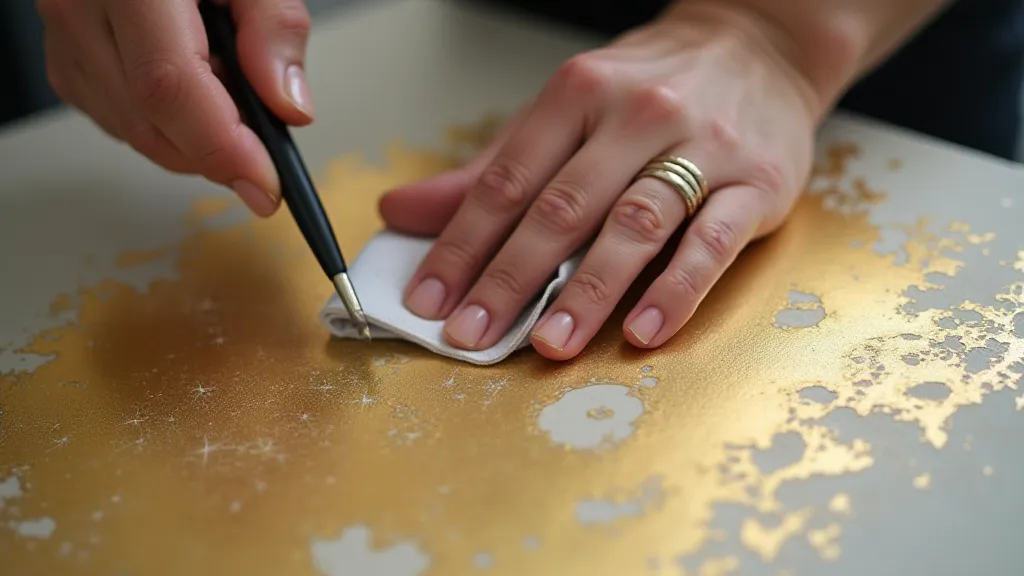
- Burnish the Gold Leaf: Using a soft cloth or burnishing tool, gently rub the gold leaf to make it conform to the surface of the paper. Work in small, overlapping circles. The goal is to press the gold leaf into the paper's texture and remove any air bubbles.
- Remove Excess Gold Leaf (Optional): After burnishing, you may have excess gold leaf. Gently brush away any loose pieces with a soft brush.
- Seal (Optional): While gold leaf is generally stable, a thin coat of archival sealant can provide extra protection (test first on a scrap piece).
Tips and Troubleshooting
- Practice Makes Perfect: Gold leafing takes a little practice. Start with a small area of your paper to get the feel for it.
- Dust is the Enemy: Gold leaf attracts dust like a magnet. Work in a clean, dust-free environment.
- Adhesive Application: Too much adhesive can make the gold leaf look dull. Too little, and it won’t stick. Experiment to find the right balance.
- Handling the Gold Leaf: Avoid touching the gold leaf with your fingers, as the oils from your skin can prevent it from sticking.
Conclusion
Adding gold leaf to your paper marbling is a beautiful and rewarding technique. With a little patience and practice, you can transform your already stunning marbled paper into true works of art. Enjoy experimenting and adding a touch of luxury to your paper crafts!