Creating Festive Marbled Paper Designs for Holidays
The holidays are a time for beautiful decorations, heartfelt gifts, and a touch of magic. What better way to infuse your celebrations with personalized charm than by creating your own marbled paper? This step-by-step guide will show you how to create stunning marbled paper designs perfect for wrapping gifts, making cards, and decorating for holidays like Christmas, Easter, and Thanksgiving.
Why Marbled Paper for the Holidays?
Store-bought wrapping paper is fine, but handmade marbled paper elevates your gifts to a whole new level. It’s a unique, artistic touch that shows you’re putting extra care and effort into your celebrations. Plus, creating marbled paper is a surprisingly relaxing and enjoyable art form – a perfect way to de-stress during the busy holiday season!
Gathering Your Materials
You’re probably familiar with the basics of paper marbling, but let’s review the essentials. You're going to need:
- Paper: Watercolor paper or absorbent printmaking paper work best.
- Marbling Size (Alum): This preps the paper to receive the colors.
- Marbling Colors: Acrylic paints or specialized marbling inks are ideal.
- Marbling Medium: Carageenan, CMC, or methylcellulose are common choices.
- Tools: Droppers, combs, brushes, a marbling tray (or tub), and blotting paper.
Festive Color Palette Ideas
Let's get into the fun part: colors! Here are some ideas to get your holiday creativity flowing:
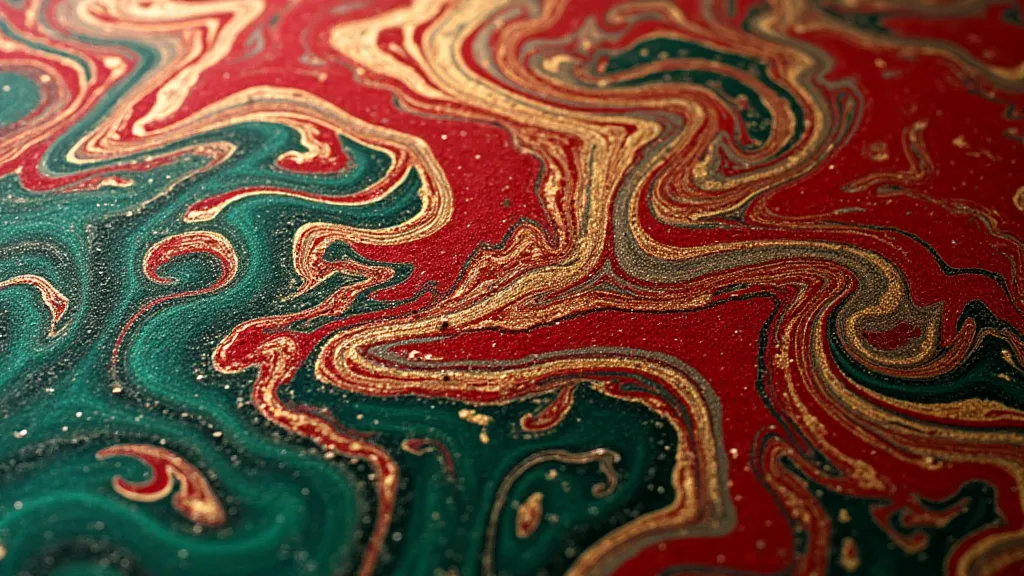
- Christmas: Deep reds, emerald greens, golds, and silvers. Think classic Christmas ornaments and twinkling lights.
- Easter: Pastel pinks, blues, yellows, and lavenders. Think soft spring blooms and playful bunnies.
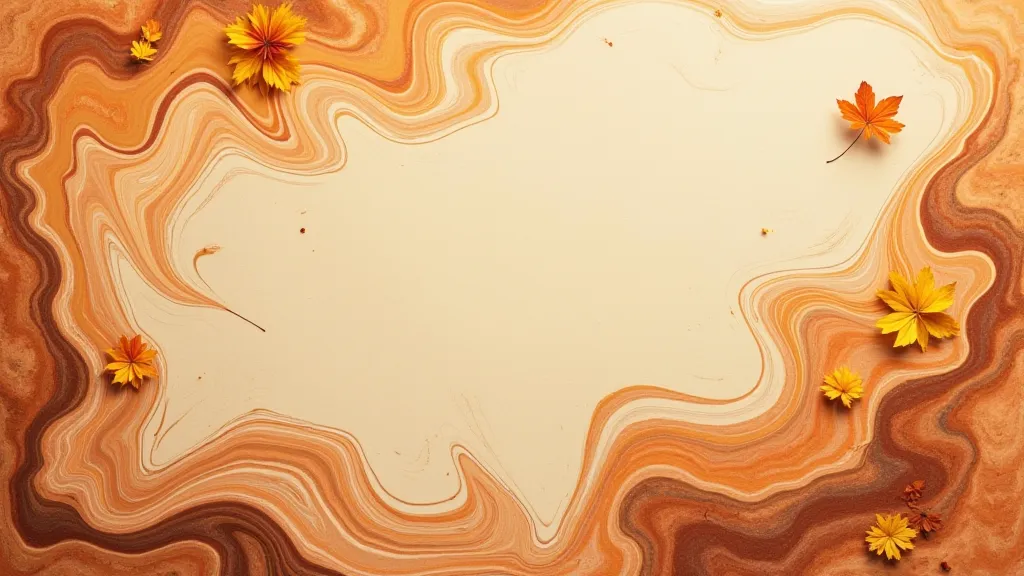
- Thanksgiving: Warm oranges, browns, yellows, and creams. Evoke the colors of autumn leaves and a bountiful harvest.
Step-by-Step Guide to Festive Marbling
- Size the Paper: Apply alum solution to your paper according to your usual sizing process. Let it dry completely.
- Prepare Your Marbling Medium: Mix your chosen marbling medium according to the product instructions.
- Create Your Design: Carefully drop your chosen colors onto the surface of the marbling medium.
- Swirl and Manipulate: Gently swirl the colors using a comb or brush to create a pattern. Experiment with different techniques to achieve the desired look. For a more subtle, flowing pattern try using a fan technique.
- Lay the Paper: Carefully lay your sized paper onto the surface of the marbled pattern.
- Lift and Blot: Lift the paper slowly and blot the back with blotting paper to remove excess medium.
- Rinse and Dry: Rinse the paper gently in clean water to remove any remaining medium. Lay flat to dry.
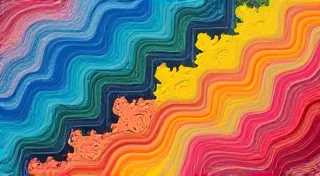
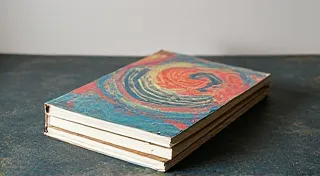
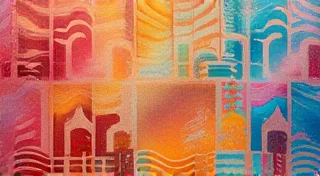
Image Inspiration
Here are some visual ideas to inspire your festive paper marbling projects:
Tip: Don’s be afraid to combine different techniques! Try layering colors, using different tools, or creating unique patterns. The possibilities are endless!

Experiment with leafing! After the marbling process, carefully lay a dried leaf onto the wet surface. This will create a beautiful, organic texture.
Get Creative and Share!
Creating marbled paper is a wonderful way to add a personal touch to your holiday celebrations. Whether you're wrapping gifts, making cards, or decorating your home, your unique creations will bring joy and beauty to the season. Happy marbling!