Troubleshooting Common Paper Marbling Problems
Paper marbling is a captivating art form, but even experienced marblers encounter occasional hiccups. Don't be discouraged! This guide addresses some common paper marbling problems and offers practical solutions to help you achieve stunning results. Let's dive in!
1. Paint Separation – Why Your Colors Aren’t Staying Together
One of the most frustrating issues is when your paints separate on the surface of the marbling bath. This usually indicates an imbalance in the chemistry. Here’s what to check:
- Carrageenan/Alum Ratio: The ratio between carrageenan (the thickening agent) and alum (the paint adhesive) is crucial. Too much carrageenan will make the bath too thick, preventing colors from spreading evenly. Too little can lead to the paint sinking. Experiment with small adjustments. Start with the recommended ratios in your starter kit and tweak from there.
- Water Quality: Hard water can interfere with the chemical reactions. Use distilled or filtered water to ensure consistent results.
- Paint Formulation: Make sure your paints are properly formulated. They should be a suitable consistency – not too thin and not too thick. Many kits provide pre-made paints, but if you’re mixing your own, use the correct binders and pigments.
2. Uneven Patterns – Why Your Designs Look Patchy
Uneven patterns, blotchy designs, or areas with no marbling effect are often caused by inconsistencies in the marbling bath or paper preparation.
- Bath Consistency: Ensure the bath has a uniform thickness across the entire surface. Gentle agitation helps maintain this consistency.
- Paper Preparation (Sizing): The paper must be adequately sized (treated to prevent ink bleed). If the sizing is too weak, the paint will sink in, creating blurry or uneven patterns. If the sizing is too strong, the paint won’t adhere. Test a small piece of paper first.
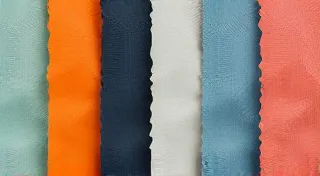
- Paper Texture: The texture of your paper also matters. Rougher papers will grab the paint differently than smooth papers.
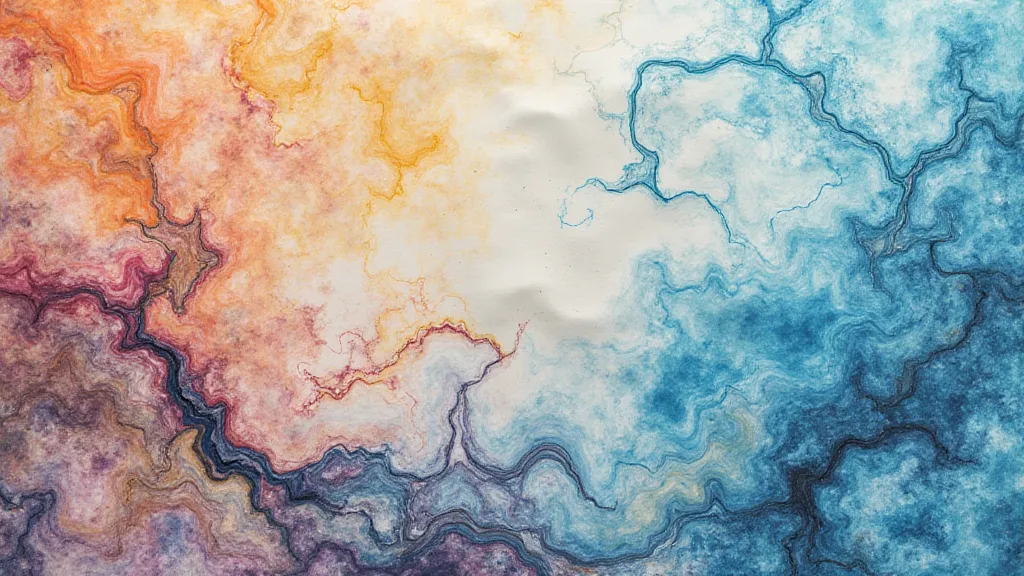
3. Bleeding – When Colors Spread Too Far
Excessive bleeding, where colors run together uncontrollably, is usually a sign of weak paper sizing or improperly formulated paints.
- Paper Sizing: Strengthen your sizing process. This might involve applying additional coats of alum or a commercial sizing agent.
- Paint Formulation: The binder in your paint is responsible for keeping the pigment suspended and adhering to the paper. Ensure your paints have sufficient binder.
- Marbling Technique: Avoid overly vigorous swirling or dragging motions during the marbling process, as this can force the paint to spread too much.
4. Inconsistent Color Intensity
Sometimes, the color intensity varies across the finished sheet. This can be due to uneven paint distribution or variations in the marbling bath.
- Paint Mixing: Ensure your paints are thoroughly mixed before each use.
- Bath Depth: Maintain a consistent depth of marbling bath.
- Paper Contact Time: The amount of time the paper sits on the bath affects color absorption. Try to be consistent with this time.
5. Small, Unsightly Dots or Bubbles
Tiny dots or bubbles can sometimes appear on the finished paper. These are often caused by air trapped in the bath or paint.
- Bath Surface: Gently skim the surface of the bath with a clean tool (like a spatula) before laying the paper down.
- Paint Consistency: Ensure your paints are free of air bubbles. Gently tap the paint container to release any trapped air.
Experiment and Learn!
Paper marbling is as much about experimentation as it is about following rules. Don't be afraid to try different approaches and adjust your techniques. Keep a notebook to record your experiments and observations. Each problem is an opportunity to learn and refine your skills. The beauty of paper marbling lies in its unpredictable nature—embrace the journey!