Using Natural Dyes for Paper Marbling: Earthy Tones and Organic Beauty
Discover how to create stunning marbled paper using natural dyes derived from plants and other organic materials. This article explores the process of extracting and applying natural dyes.
The Allure of Natural Dyes in Paper Marbling
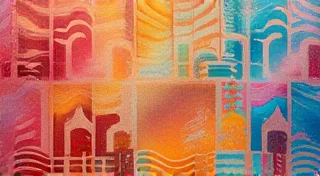
Paper marbling is a truly captivating art form, and the choice of color profoundly impacts the final result. While commercial dyes offer a wide spectrum of hues, there’s a unique charm and depth achieved when using natural dyes. These dyes, derived from plants, fruits, vegetables, and even minerals, offer a gentler, more organic aesthetic. The resulting paper often boasts earthy tones and subtle variations, lending a touch of timeless beauty to your creations.
Sourcing and Extracting Natural Dyes
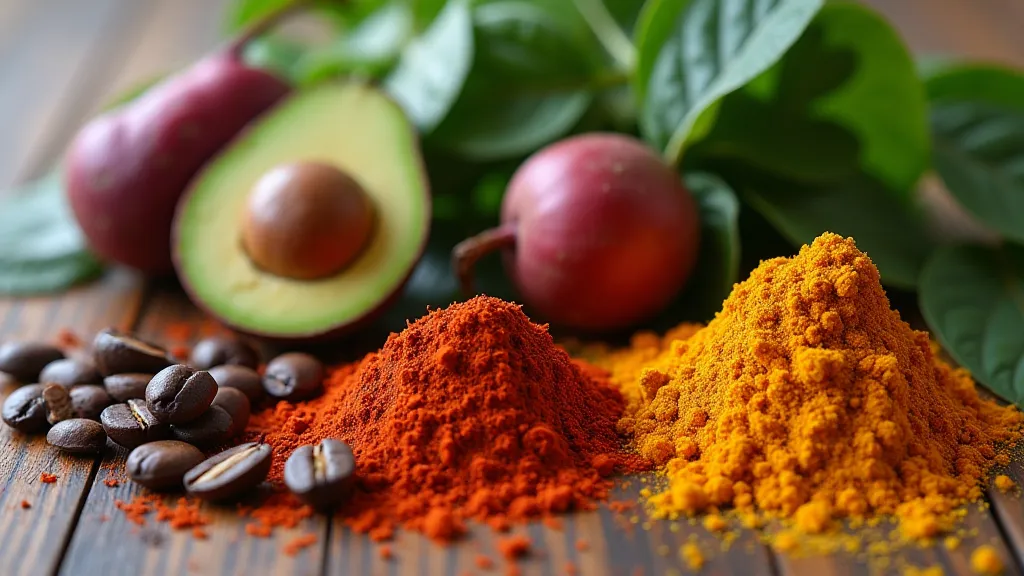
The journey to naturally marbled paper begins with sourcing your dye materials. Many common household items and foraged plants can be used. Some popular choices include:
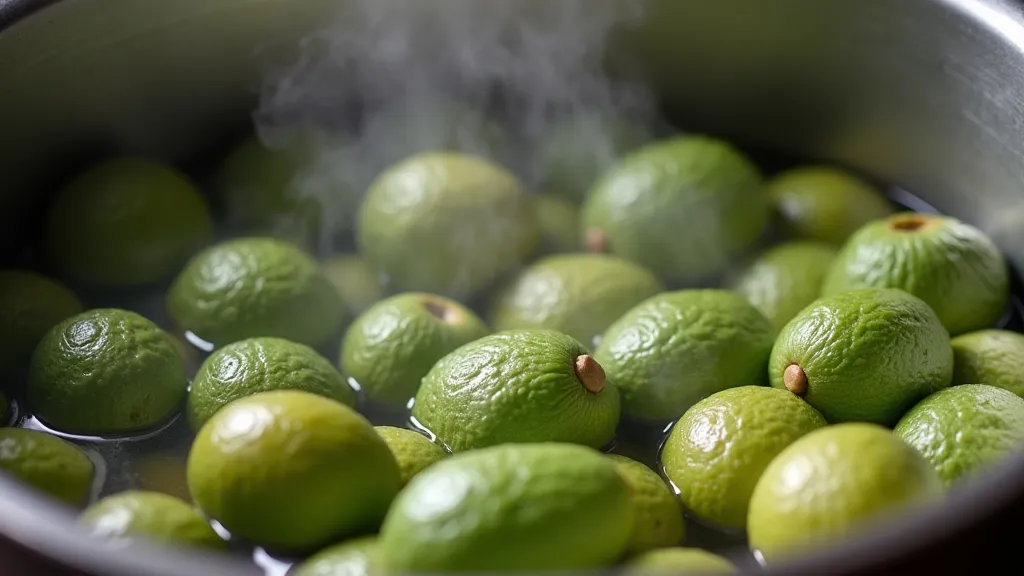
- Avocado Pit and Skin: Produces beautiful pink and peach tones.
- Beetroot: Delivers vibrant pinks and reds.
- Spinach: Creates softer greens.
- Coffee and Tea: Offers warm browns and sepia tones.
- Turmeric: Provides rich yellows.
- Onion Skins: Yields lovely orange and brown shades.
Extraction Process:
- Chop and Simmer: Roughly chop your chosen dye material and simmer it in water for at least an hour, or even longer for deeper color. The longer it simmers, the more color you’re likely to extract.
- Strain the Liquid: Once cooled, carefully strain the liquid through cheesecloth or a fine-mesh sieve. This removes any solids and leaves you with the dye concentrate.
- Mordanting (Optional): Mordanting is a process that helps the dye bind more permanently to the paper fibers. Alum is a common mordant. This step can significantly improve the lightfastness of your natural dyes, preventing them from fading over time.
Applying Natural Dyes in Paper Marbling
The application process is similar to using commercial dyes. You’re essentially creating a floating color bath on the surface of water. The key is to work quickly and gently.
- Prepare the Water Bath: Fill a shallow tray with water. The tray should be large enough to comfortably accommodate the paper you're marbling.
- Add the Dye: Carefully drop the dye concentrate onto the water's surface. Use a dropper or a spoon to control the amount of dye.
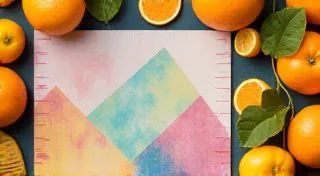
- Create Patterns: Employ various tools—combs, rakes, brushes, or even your fingers—to manipulate the dye and create mesmerizing patterns on the water's surface.
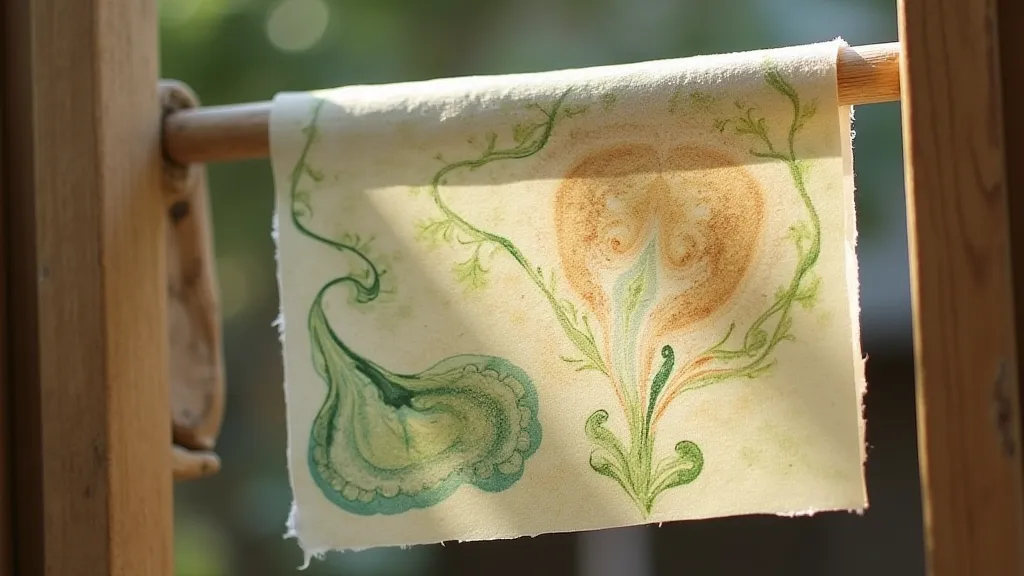
- Lay the Paper: Gently lay a sheet of paper onto the colored water. Ensure the entire sheet makes contact.
- Lift and Rinse: Carefully lift the paper from the water, allowing the excess dye to drip back into the tray. Rinse the paper thoroughly with clean water to remove any unbound dye.
Tips for Success with Natural Dyes
- Experimentation is Key: Natural dyes can be unpredictable. Don't be afraid to experiment with different materials and techniques.
- Document Your Results: Keep a notebook to record which materials you used, how you extracted the dye, and the results you achieved. This will help you replicate successful results in the future.
- Lightfastness: Natural dyes are often less lightfast than commercial dyes. Consider sealing your marbled paper with a light protective coating to prolong its vibrancy.
- pH Levels: The pH of your water can affect the color produced. Slightly acidic water (like that produced by lemon juice) can brighten some colors.
Beyond the Basics: Combining Dyes and Techniques
Once you’re comfortable with the basics, you can start exploring more advanced techniques. Combining different natural dyes can create unique and complex color palettes. Trying different pattern-making tools and exploring different types of paper can also add depth and complexity to your marbling projects.
The beauty of natural dyes lies in their inherent variability. Embrace the unexpected color shifts and subtle imperfections – these are what make each piece of marbled paper truly one-of-a-kind.