Creating Realistic Stone Veins with Paper Marbling
Description: Learn how to mimic the natural beauty of stone with unique paper marbling techniques. We’re covering materials and steps to achieve a stunning marble effect.
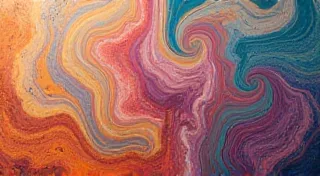
Introduction: The Allure of Stone
There's something inherently captivating about stone – its depth, its complexity, and the way light plays across its surface. Replicating this natural beauty through paper marbling might seem challenging, but with a few key techniques and a little experimentation, you can create stunning, realistic stone veins on your own handmade paper. This tutorial will guide you through the process, from gathering materials to achieving that coveted marble effect.
Materials You'll Need
- Marbling Paper: Watercolor paper or printmaking paper (thicker paper works best).
- Marbling Size: Methyl cellulose or seaweed extract. This prepares the paper surface to receive the pigments.
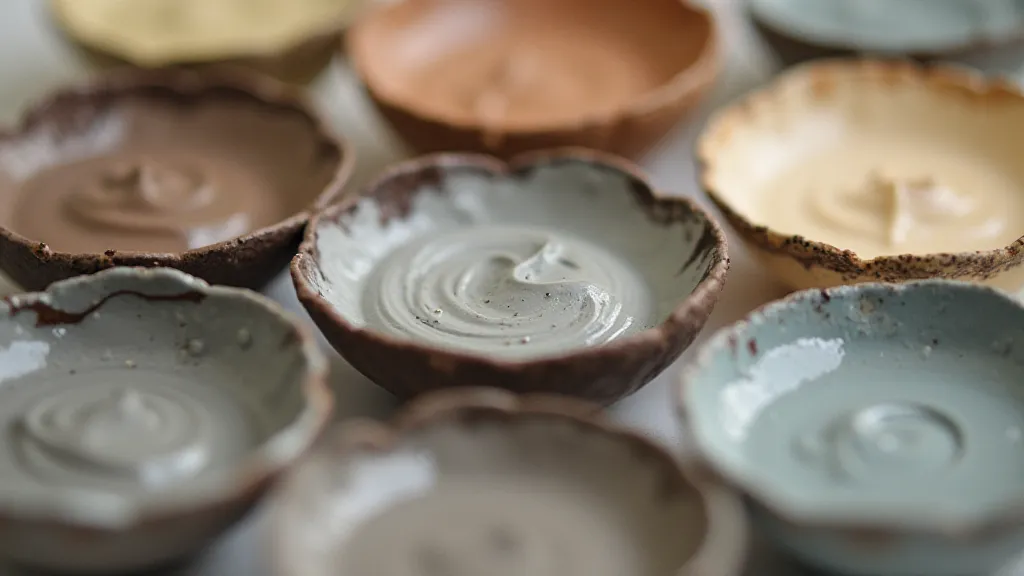
- Acrylic Paints or Pigments: Consider earthy tones like grays, browns, creams, and ochres. A touch of white is also useful for highlighting.
- Fixative (Alum): To help the paint adhere permanently to the paper.
- Shallow Tray or Tub: Large enough to fully submerge your paper.
- Combs, Rakes, or Droppers: For manipulating the paints on the size.
- Paper Towels: For cleanup.
- Gloves: To protect your hands.
Step-by-Step Guide: Achieving the Stone Effect
1. Preparing the Paper Size
This is the most crucial step! The size acts as a barrier, preventing the pigments from soaking into the paper. Dissolve the methyl cellulose (or seaweed extract) according to the manufacturer's instructions. The consistency should be like thin glue. Carefully pour the size into your shallow tray, ensuring it's evenly distributed.
2. Laying the Foundation: Base Color
Gently lay your paper onto the size, ensuring it's completely submerged. Carefully lift it straight up, allowing the excess size to drip back into the tray. Let the paper dry completely. This base layer will form the core of your stone effect.
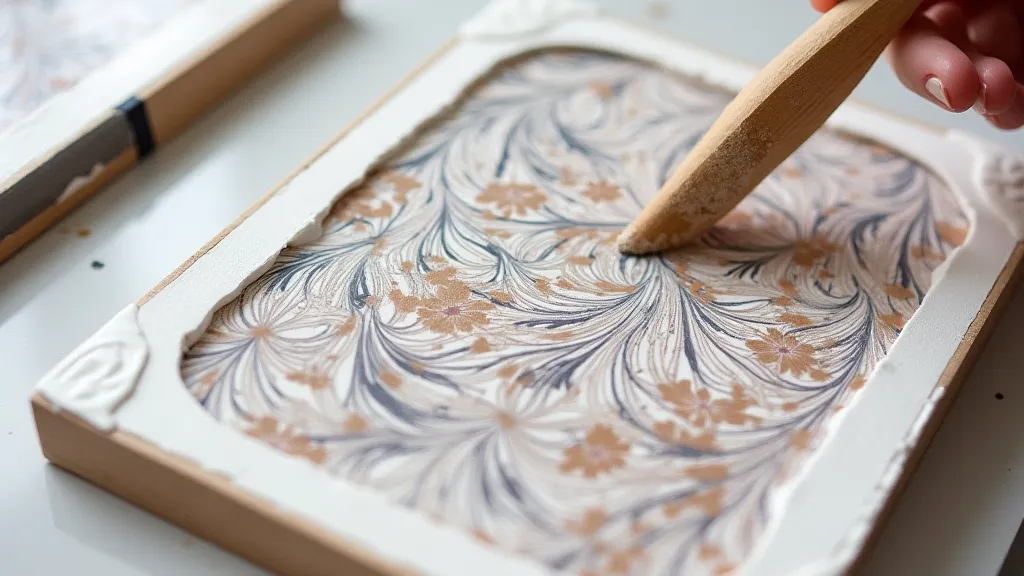
3. Creating the Veins: Paint Application
Now for the artistry! Using a dropper, carefully apply small dots or lines of your chosen paints onto the sized paper. Focus on shades of grey and brown to mimic natural stone. Vary the size and intensity of these applications. Less is often more – you want to suggest veins, not create solid blocks of color.
4. Manipulating the Design: Raking and Combing
Using a comb or rake, gently pull the paints across the surface of the size. The key here is subtlety. Short, irregular strokes will mimic the random patterns found in natural stone. Don't overwork the design; a few strategic pulls are all it takes. Experiment with different tools to see how they affect the outcome. A stiff brush can also be used for more localized effects.
5. Transferring the Design to Paper
Once you've achieved the desired effect, gently lower a fresh sheet of paper onto the marbled surface. Smooth it down carefully to ensure full contact. Lift the paper straight up, allowing the marbled design to transfer. Place the newly marbled paper on a clean, absorbent surface to dry.
6. Fixing the Design: Alum Treatment
To make the design permanent, you're going to need to treat it with alum. Mix alum powder with water according to the manufacturer’s instructions. Soak the marbled paper in the alum solution for the recommended time. This process helps the paint bind permanently to the paper fibers.
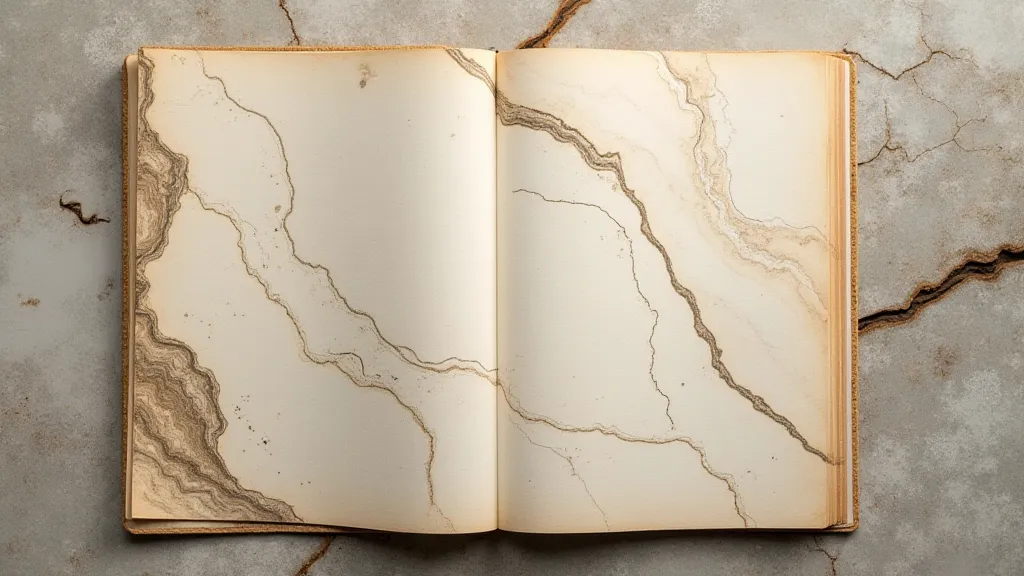
7. Drying and Finishing
After the alum treatment, rinse the paper gently with cool water. Lay it flat to dry completely. Once dry, you can further enhance the effect with a light application of fixative or by adding subtle highlights with a fine-tipped brush.
Experimentation and Tips
- Color Mixing: Don't be afraid to mix your paints to create unique shades.
- Layering: You can layer multiple marbling designs to create more complex patterns.
- Texture: Adding a touch of texture medium to your paints can simulate the rough surface of stone.
- Practice: Paper marbling takes practice. Don't get discouraged if your first attempts aren't perfect.
Creating realistic stone veins with paper marbling is a rewarding experience that allows you to connect with the beauty of the natural world. With patience and practice, you'll be creating stunning, one-of-a-kind decorative papers in no time!