Creating Paper Marbling Patterns with Alcohol
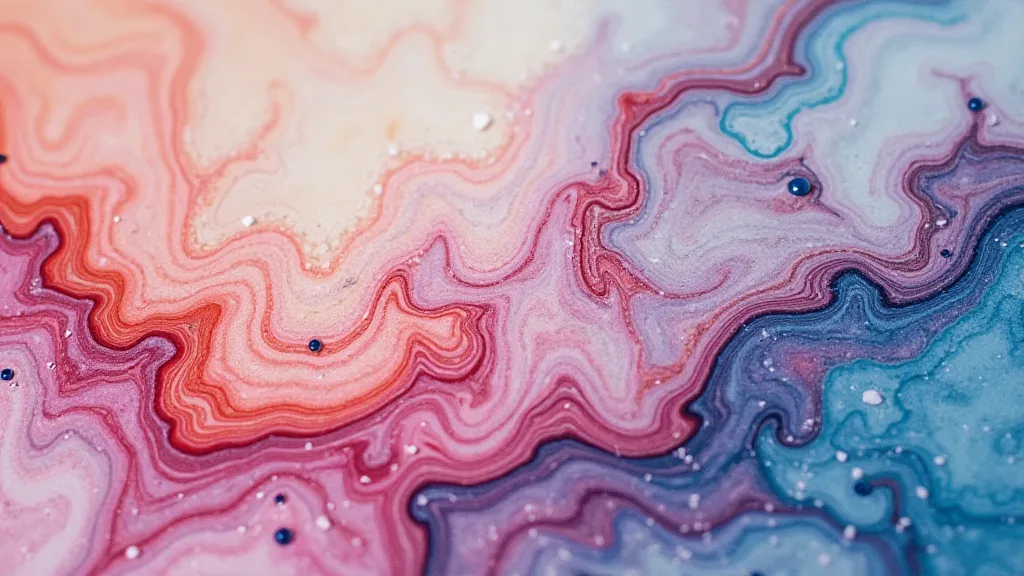
Alcohol paper marbling offers a unique twist on the traditional water-based technique. It provides a fast-drying and vibrant option, allowing for intricate and detailed designs that might be challenging to achieve with water-based methods. This article dives into the process, offering step-by-step guidance and practical tips to help you create stunning alcohol-marbled paper.
Understanding Alcohol Marbling
Unlike water marbling where pigments float on the surface, alcohol-based marbling utilizes isopropyl alcohol (typically 91% or higher) as the medium. The pigments, specifically alcohol-soluble pigments, disperse readily within the alcohol. This results in a quicker drying time and often more intense colors. The alcohol evaporates quickly, leaving behind a beautiful, patterned paper.
Materials You'll Need
- Isopropyl Alcohol (91% or higher)
- Alcohol-Soluble Pigments (Acrylic inks can sometimes work, but results may vary. Dedicated alcohol-soluble pigments are recommended.)
- A Marbling Tray or Container (a shallow, wide container works best)
- Paper (Watercolor paper, printmaking paper, or other absorbent paper)
- Droppers or Pipettes
- Paper Towels
- Gloves
- Ventilation (essential due to alcohol fumes)
Step-by-Step Guide
Step 1: Prepare Your Workspace
Ensure you have ample ventilation. Alcohol fumes are flammable and can be harmful. Cover your work surface with newspaper or plastic sheeting to protect it from spills.
Step 2: Prepare the Alcohol
Pour isopropyl alcohol into your marbling tray. The depth should be about 1/4 inch to 1/2 inch. Don't fill it too deep, as this can make it harder to control the pigments.
Step 3: Adding the Pigments
Using a dropper or pipette, carefully add small amounts of alcohol-soluble pigments to the alcohol. Start with a few drops and observe how they disperse. Less is more! Avoid dumping large quantities of pigment into the alcohol, as this can create muddy or uncontrolled patterns.
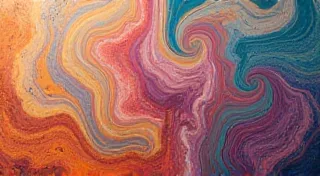
Step 4: Swirling and Creating Patterns
Use a toothpick, skewer, or other suitable tool to gently swirl the pigments in the alcohol. The goal is to create interesting patterns, but avoid over-mixing. Over-mixing can result in a uniform color.
Step 5: Laying the Paper
Gently lay the paper onto the surface of the alcohol. Try to lay it as flat as possible to avoid trapping air bubbles. After a few seconds (5-10 seconds is usually sufficient), carefully lift the paper straight up.
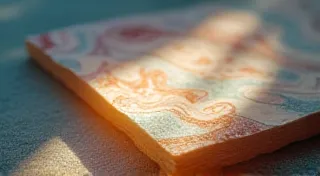
Step 6: Drying the Paper
Place the marbled paper on a clean, absorbent surface, such as paper towels, to dry. The alcohol evaporates quickly, so the drying process is relatively fast. Ensure the paper is completely dry before handling or storing it.
Tips and Tricks for Alcohol Marbling
- Pigment Choice: Experiment with different alcohol-soluble pigments to see how they interact with the alcohol and produce different effects.
- Less is More: Start with very small amounts of pigment and gradually add more if needed.
- Pattern Control: Different tools and techniques can be used to create different patterns. Try different tools and explore how they affect the final result.
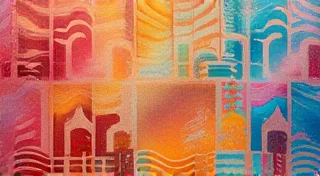
- Layering: You can layer different colors and patterns to create more complex designs.
- Paper Type: The absorbency of the paper will impact the final appearance.
Troubleshooting
- Muddy Colors: Too much pigment or over-mixing can lead to muddy colors. Try using less pigment or experimenting with different swirling techniques.
- Uneven Patterns: This can be caused by uneven paper laying or trapped air bubbles. Make sure to lay the paper flat and gently remove any air bubbles.
- Slow Drying: Ensure adequate ventilation.

Experimentation is Key
Alcohol paper marbling is a technique that rewards experimentation. Don't be afraid to try different pigments, tools, and techniques to discover your own unique style. With practice and a little creativity, you can create stunning and one-of-a-kind marbled paper.