Marbling Paper for Calligraphy and Lettering
Create a unique and personalized backdrop for your calligraphy and lettering projects with beautiful marbled paper. Discover how to prepare the paper and apply your designs.
Elevate Your Calligraphy with Marbled Paper
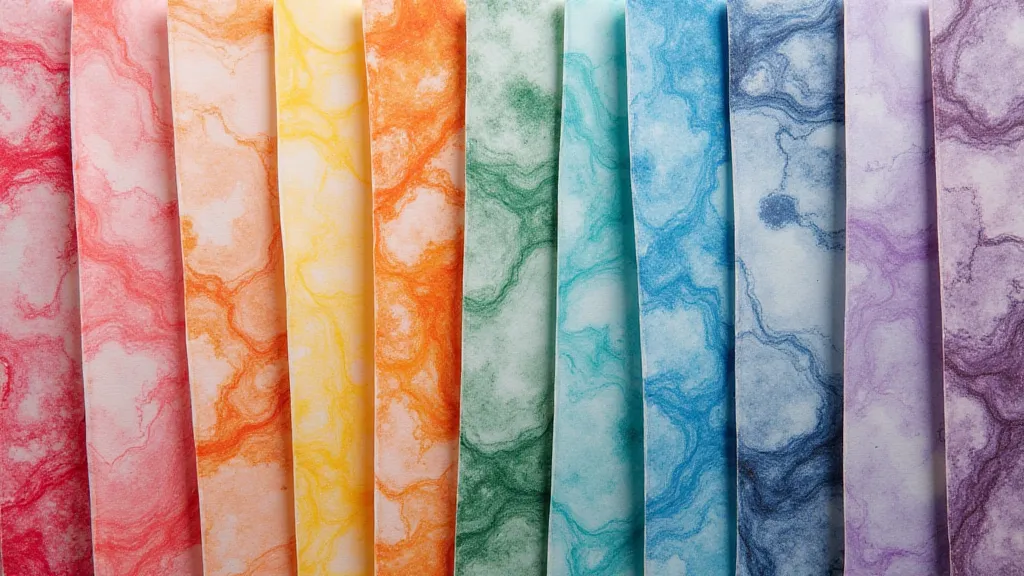
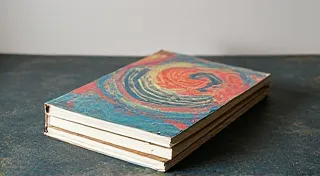
For calligraphers and lettering artists, the beauty lies not only in the strokes themselves but also in the canvas upon which they’re presented. While pristine white paper offers a classic look, using marbled paper can dramatically elevate your work, adding a layer of texture, depth, and artistic flair. The swirling patterns of marbling create a truly one-of-a-kind backdrop that complements and enhances your lettering.
Choosing Your Paper
Not all papers are created equal when it comes to marbling. For best results, you're looking for a paper that's absorbent enough to take the colors well but sturdy enough to handle the marbling process and subsequent lettering. Here are a few recommendations:
- Watercolor Paper: This is a popular choice due to its thickness and absorbency.
- Printmaking Paper: Similar to watercolor paper, printmaking paper offers a good surface for marbling.
- Drawing Paper (Medium Weight): A slightly lighter option that still provides a decent surface.
Consider the weight of the paper. Heavier paper will be easier to handle and less prone to warping.
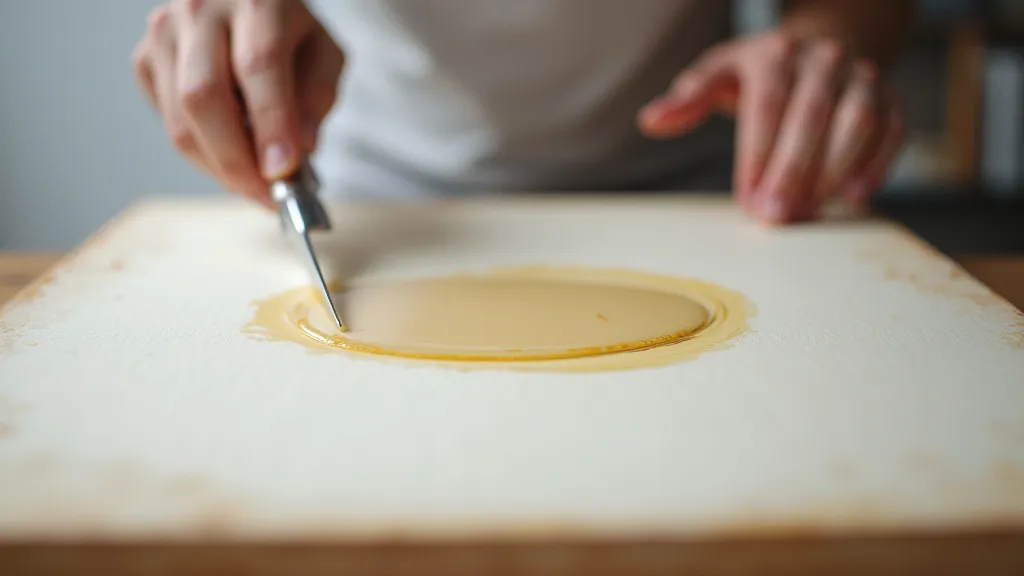
Preparing Your Paper
Before you begin marbling, it’s important to size your paper. Sizing prevents the marbling colors from bleeding into the paper and causing the ink to feather. Traditional sizing uses gelatin, but commercially available pre-sized paper or synthetic sizing solutions work well too.
To size your paper:
- Dilute the sizing solution according to the manufacturer’s instructions.
- Apply a thin, even coat of the sizing solution to both sides of the paper.
- Let the paper dry completely before marbling. This can take several hours or overnight.
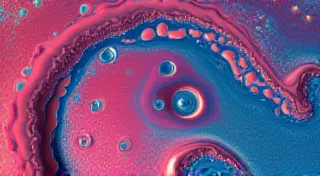
Marbling Your Paper
Once your paper is sized and dry, you're ready to marbling! The basic marbling process involves floating inks on a thickened bath, manipulating them into desired patterns, and then laying the paper onto the surface to transfer the design.
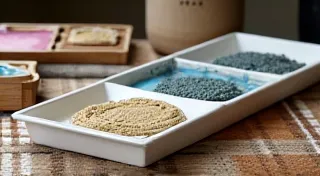
Key Materials:
- Marbling Bath: A mixture of carrageenan or methylcellulose and water.
- Marbling Colors: Acrylic paints, inks, or specialized marbling colors.
- Manipulators: Tools like rakes, combs, or brushes to create patterns.
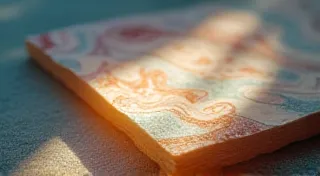
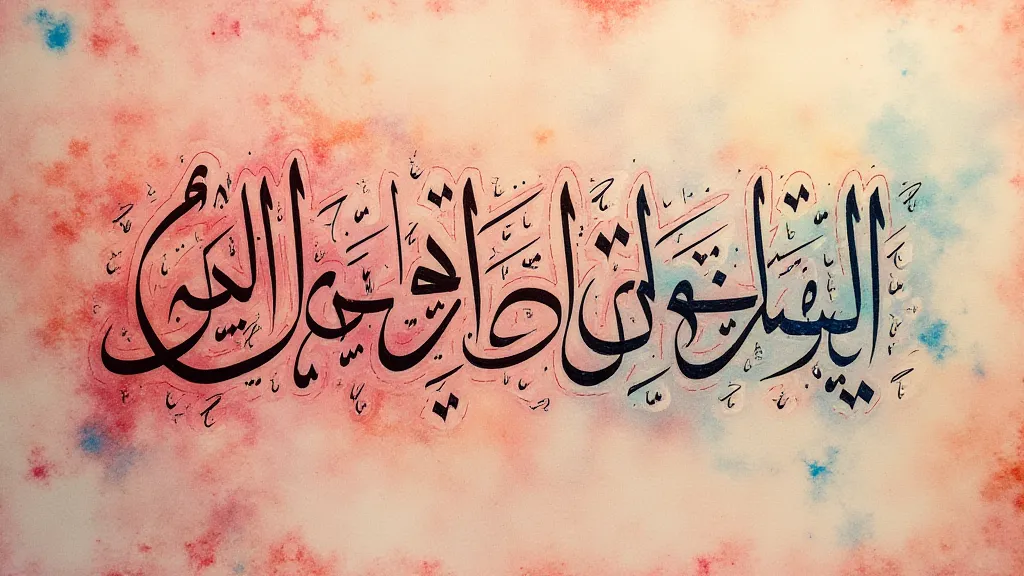
Applying Your Calligraphy and Lettering
Once your marbled paper is dry, it’s time to add your lettering! Here are a few tips for achieving the best results:
- Let it Dry Completely: This is crucial to prevent smudging.
- Test Your Inks: Before committing to your final design, test your inks on a scrap piece of marbled paper to ensure they don’t bleed or feather.
- Consider the Pattern: Think about how the marbled pattern will interact with your lettering. You may want to avoid placing lettering over particularly busy areas of the design.
- Embrace Imperfection: Marbling is an organic process, so don't strive for perfect symmetry. Embrace the unique character of each piece.
Experiment and Create!
Marbling paper for calligraphy and lettering is a rewarding process that allows for endless creativity. Don't be afraid to experiment with different colors, patterns, and techniques to create truly unique and personalized pieces. The combination of handcrafted paper and expressive lettering is a beautiful testament to the art of handmade creations.