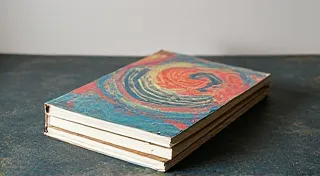
Marbling Paper with Citrus: A Fragrant and Colorful Experience
Experience the unique scent and vibrant colors of marbling paper with citrus fruits. This article covers the process from juice extraction to the final result. Forget harsh chemicals – we’re harnessing nature’s artistry!
Why Citrus for Paper Marbling?
Traditional paper marbling often relies on alum-based mordants and acrylic paints, which can be a bit overwhelming for beginners and not always environmentally friendly. Citrus fruits offer a refreshing alternative. Their natural acidity acts as a mild mordant, helping the colors adhere to the paper. And the aroma? Divine! The process creates a wonderfully fragrant and visually appealing experience.
Gathering Your Supplies
Here's what you'll need to embark on your citrus marbling adventure:
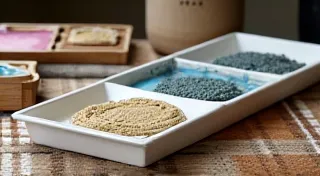
- Citrus Fruits: Oranges, lemons, and grapefruits work beautifully. A mix will yield complex colors. You'll need a decent quantity, so plan accordingly (around 3-4 fruits for a small batch).
- Paper: Watercolor paper, printmaking paper, or any absorbent paper will do. Thicker papers generally work better as they can withstand the wet process.
- Marbling Tray/Tank: A shallow tray or a plastic storage bin will work. The larger the tray, the larger your paper can be.
- Carageenan or Gum Tragacanth: This acts as a thickening agent, creating a viscous 'size' which is crucial for the colors to float. (You can find these online or at art supply stores.)
- Distilled Water: Essential for diluting the thickening agent and creating a stable marbling size.
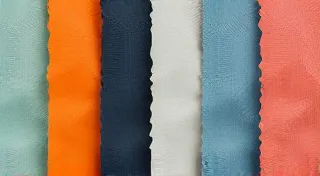
- Natural Pigments: Beet juice, spinach juice, turmeric powder (mixed with a little water), blueberries, and onion skins are excellent choices for creating your colors. Experiment!
- Paper Towels: For blotting and cleaning up spills.
- Spoon or Skewer: For manipulating the colors on the surface.
Step-by-Step Guide
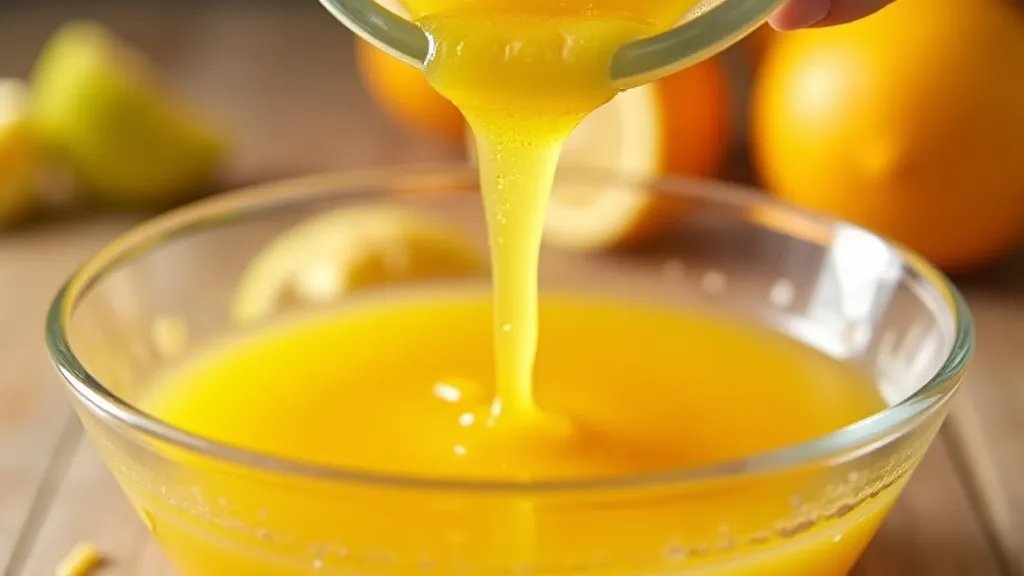
1. Extracting the Citrus Juice
Squeeze your citrus fruits to obtain the juice. This juice will subtly color your paper and create a natural 'undertone'. Strain the juice to remove any pulp.
2. Preparing the Marbling Size
This is a crucial step. Follow the instructions on your carageenan or gum tragacanth packaging (typically a small amount of powder dissolved in warm distilled water). The consistency should be similar to honey – thick enough to hold the colors but thin enough to allow them to move.
3. Coloring the Size
Now for the fun part! Take small amounts of your natural pigments and gently stir them into the marbling size. Be careful not to over-stir – you want distinct pools of color, not a muddy mix. Add the juices you’ve extracted.
4. Laying the Paper
Gently lay your paper onto the surface of the colored size. Don't just drop it – lower it slowly and evenly to avoid trapping air bubbles.
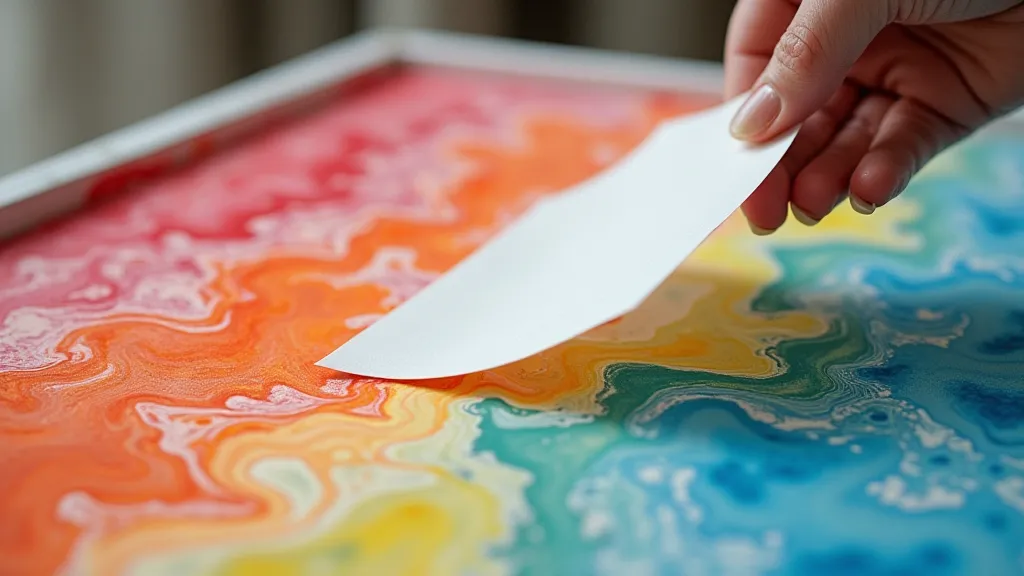
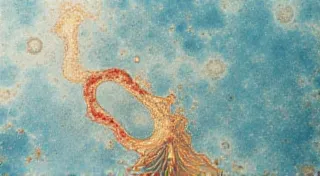
5. Lifting the Paper
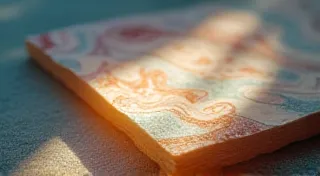
Carefully lift the paper straight up, allowing any excess size to drip back into the tray. The colors will have transferred to the paper, creating a unique marbled pattern.
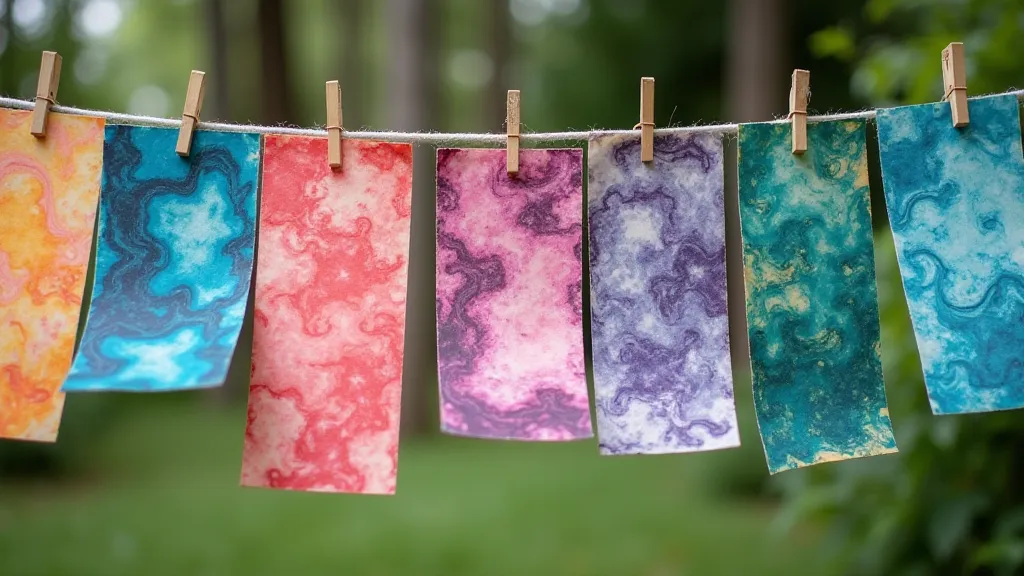
6. Drying
Hang the paper to dry. The natural colors may shift slightly as they dry, adding another layer of surprise and beauty.
Tips and Troubleshooting
- Color Intensity: Experiment with different amounts of pigment to achieve desired color intensity.
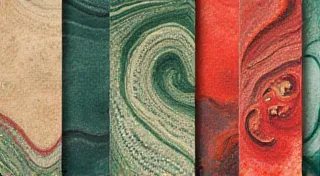
- Pattern Variation: Use different tools (toothpicks, skewers, even straws) to manipulate the colors and create unique patterns.
- Size Consistency: The size *must* be properly thickened. If it's too thin, the colors will bleed together. If it’s too thick, they won't float.
- Natural Pigments Fade: Be aware that natural pigments are less lightfast than commercial dyes. Store your marbled paper away from direct sunlight.
Embrace the Imperfection!
Paper marbling with citrus is a wonderfully unpredictable art form. Embrace the imperfections and enjoy the process of creating something truly unique and fragrant. Happy marbling!