Geometric Paper Marbling Patterns: A Modern Approach
Move beyond swirling patterns and explore the creation of geometric designs through paper marbling. This tutorial provides step-by-step instructions for achieving crisp, modern aesthetics.
Introduction: Redefining Paper Marbling
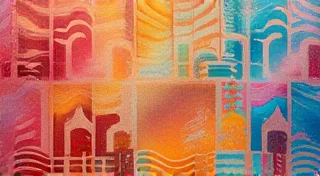
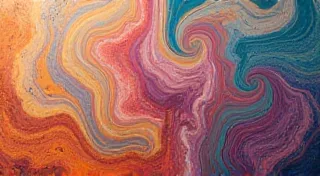
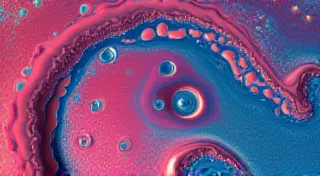
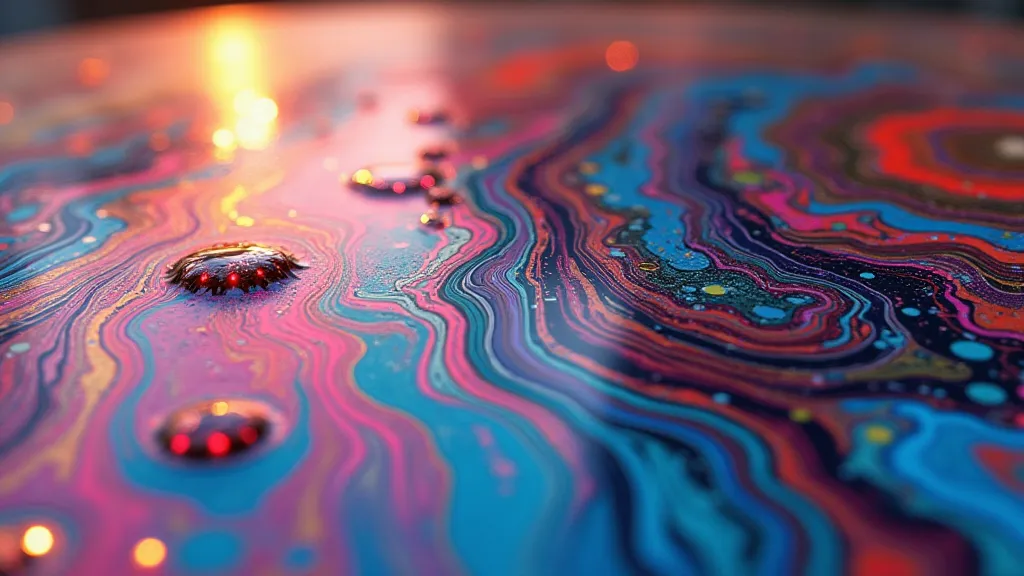
Paper marbling is often associated with flowing, organic patterns, reminiscent of water reflections or swirling clouds. While those styles are undeniably beautiful, there's a growing interest in a more structured, contemporary approach. This article focuses on crafting geometric designs – think sharp angles, clean lines, and precise shapes – using the traditional techniques of paper marbling. It's a rewarding challenge that opens up a whole new world of creative possibilities.
Understanding the Challenges & Key Differences
Creating geometric patterns in paper marbling isn't as straightforward as achieving the classic swirling designs. The unpredictable nature of the floating inks makes precision difficult. However, with a few adjustments to your technique and materials, you can gain more control and achieve stunning results. Here’s what you need to be mindful of:
- Ink Control: Traditional marbling often relies on letting the inks flow naturally. For geometric patterns, you’ll need to more deliberately place and manipulate the inks.
- Surface Tension: Understanding how the inks interact with the water's surface is crucial for creating sharp edges. Altering the surface tension through additives can help.
- Paper Choice: A smoother paper surface generally yields sharper lines.
Materials You'll Need
- Marbling Tray: A wide, shallow tray, preferably rectangular.
- Carageenan or Methylcellulose: A thickening agent to keep the inks floating on the water.
- Acrylic Inks or Pigments: Choose a limited color palette to enhance the geometric aesthetic.
- Spirit or Alcohol: To manipulate the inks and create sharp edges.
- Paper: Smooth, absorbent paper (watercolor paper or similar).
- Tools: Rags, skewers, combs, or other tools for manipulating the inks.
Step-by-Step Guide to Geometric Marbling
- Prepare the Size: Fill your marbling tray with water and dissolve the carrageenan or methylcellulose according to the product instructions. Allow the size to rest and the bubbles to dissipate.
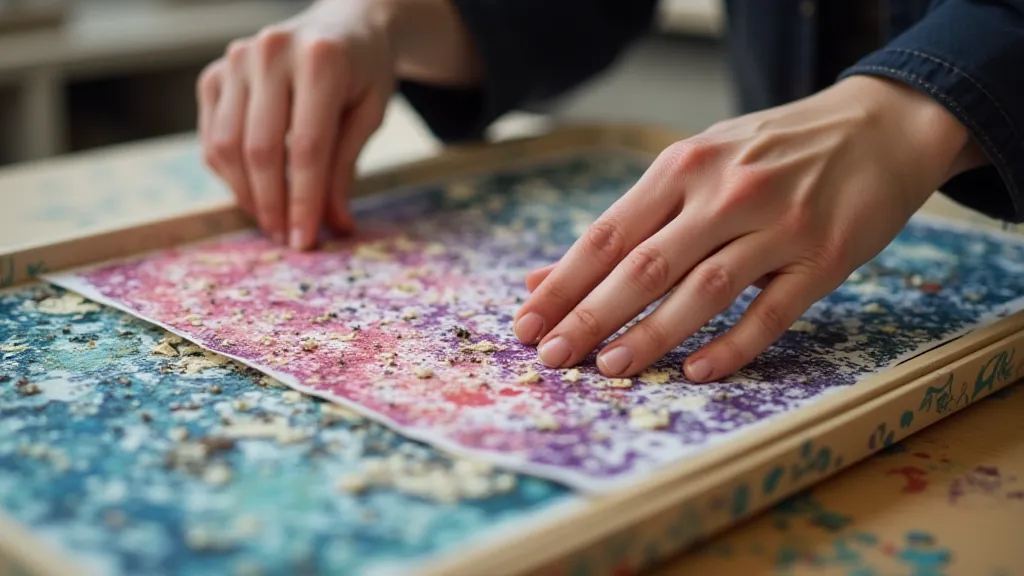
- Apply the First Color: Carefully drop small amounts of your chosen ink onto the surface of the size. Use a skewer or rag to gently spread the ink into a desired shape – think squares, triangles, or stripes.
- Create Sharp Edges: Dip a rag or cotton swab in alcohol and lightly touch the edges of the ink to create crisp lines and define the geometric shapes. The alcohol reduces the surface tension, preventing the ink from bleeding.
- Add Subsequent Colors: Repeat steps 2 and 3 with your other colors, carefully overlapping the shapes. Consider using contrasting colors to highlight the geometric forms.
- Lay the Paper: Gently lay your paper onto the surface of the marbling size, ensuring it's centered and level.
- Lift and Rinse: Carefully lift the paper from the size. Rinse the paper under cool water until the sizing agent is removed.
- Dry the Paper: Hang the paper to dry flat.
Advanced Techniques: Creating Complex Geometric Designs
Once you're comfortable with the basics, you can explore more advanced techniques:
- Masking: Use tape or stencils to mask off areas of the marbling size before applying the inks. This allows you to create precise geometric shapes and patterns.
- Combing: Use combs with varying tooth spacing to create regular, repeating geometric patterns.
- Layering: Apply multiple layers of different geometric patterns to create intricate and complex designs.
Troubleshooting Common Issues
- Bleeding Inks: Reduce the amount of alcohol used or increase the concentration of the thickening agent.
- Uneven Patterns: Ensure the marbling size is perfectly level.
- Paper Distortion: Use a heavier-weight paper to prevent warping.
Conclusion: Embracing the Modern Aesthetic
Geometric paper marbling is a challenging but immensely rewarding art form. It requires patience, precision, and a willingness to experiment. By mastering these techniques, you can create unique and beautiful decorative paper with a distinctly modern aesthetic.