Beginner's Guide to Paper Marbling: Your First Swirls
Welcome to the wonderful world of paper marbling! This guide is specifically designed for absolute beginners, taking you through the fundamental techniques to create your own stunning, decorative paper. No prior experience is needed – just a little patience and a desire to get creative!
What is Paper Marbling?
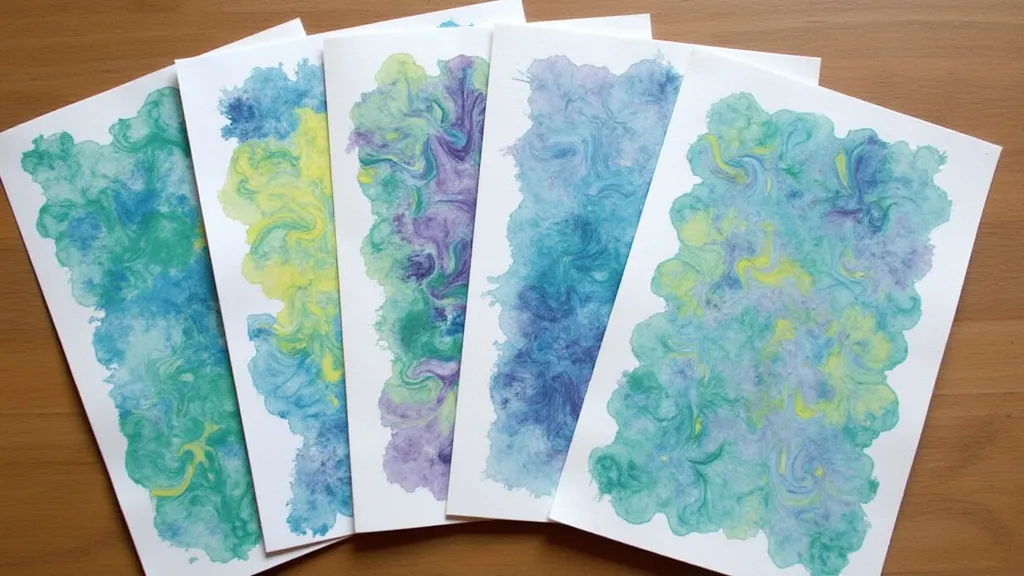
Paper marbling, also known as ebru, is an ancient art form where pigments are floated on a thickened water bath, then transferred to paper to create unique and beautiful patterns. The results are often unpredictable, lending each piece a captivating individuality. It’s a surprisingly accessible art form – let’s dive in!
Gathering Your Supplies
You don't need a huge investment to get started. Here's a basic list of what you'll need:
- Marbling Tray: A shallow, rectangular container is ideal. Plastic storage tubs work perfectly well!
- Methyl Cellulose (or Carrageenan): This is the thickening agent that keeps the pigments floating. Methyl cellulose is easier to find for beginners.
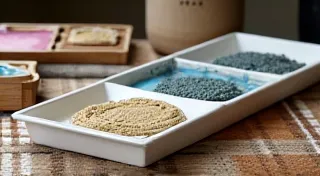
- Pigments: Acrylic paints, liquid watercolors, or even food coloring (for less vibrant results) can be used.
- Paper: Absorbent paper like watercolor paper or printmaking paper is best.
- Paper Towels: For cleanup!
- Dropper or Pipette: To apply the pigments.
- Optional: A skewer or toothpick for manipulating the pigments (more on that later!).
Step-by-Step: Your First Swirls
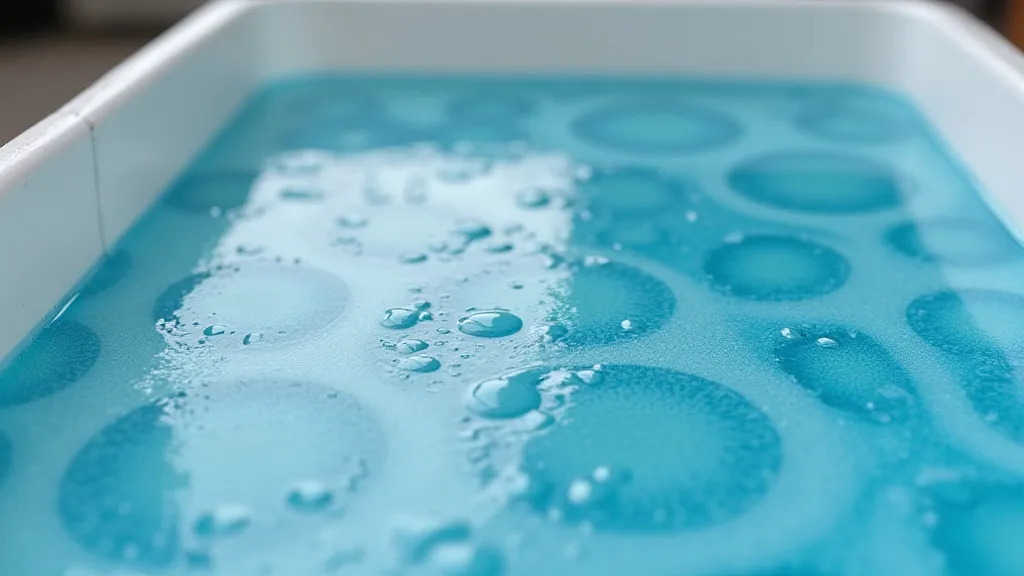
- Prepare the Tray: Mix your methyl cellulose (or carrageenan) with water according to the package directions. A general starting point is about 1 tablespoon of methyl cellulose per 2 cups of water. Stir thoroughly until completely dissolved. Let it sit for a while (at least 30 minutes, ideally longer) to fully hydrate. The mixture should have the consistency of thin pudding.
- Add Your Colors: Dilute your pigments with water until they're quite fluid, but not too watery. A ratio of roughly 1 part pigment to 2 parts water is a good starting point.
- Float the Pigments: Carefully drop your diluted pigments onto the surface of the thickened water bath. Use a dropper or pipette for more control. Don't stir! Just let them float.
- Create a Design (Optional): This is where the magic happens! You can leave the pigments as they are for a simple, organic design, or you can gently manipulate them. Try using a skewer or toothpick to swirl or drag the colors. Don't overwork it – less is often more!
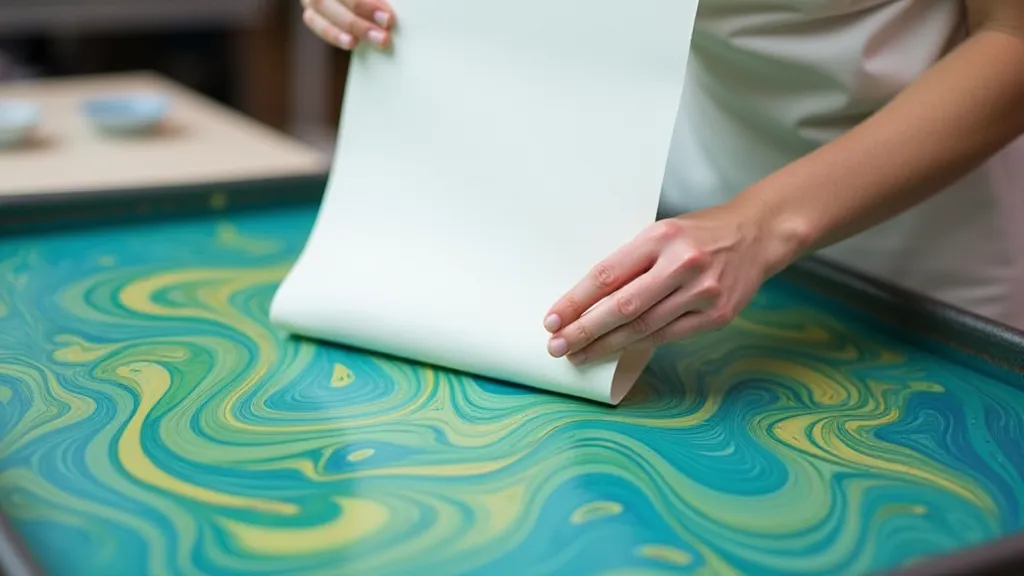
- Lay the Paper: Carefully lower a sheet of paper onto the surface of the colored water. Gently tap the paper to ensure it's fully submerged and to encourage the pigments to transfer evenly.
- Lift and Rinse: After about 30-60 seconds, carefully lift the paper from the tray. Rinse the back of the paper under cool water to remove excess thickening agent.
- Dry Your Creation: Lay the paper flat to dry completely.
Troubleshooting and Tips
- Colors Sinking: Your thickening agent might not be fully hydrated, or your pigments may be too concentrated.
- Uneven Pigment Transfer: Make sure your paper is absorbent and that you're tapping it gently to ensure even contact with the water bath.
- Too Much Design Manipulation: Overworking the pigments can muddy the design.
- Experiment! The beauty of paper marbling is its unpredictability. Don’t be afraid to try different colors, techniques, and papers.
Beyond the Basics
Once you’ve mastered the basics, you can explore a whole range of techniques, including:
- Using different types of thickening agents.
- Combining multiple colors and patterns.
- Adding decorative elements like flocking or glitter.
Paper marbling is a rewarding and meditative art form. Have fun creating your own beautiful, one-of-a-kind paper!