Paper Marbling for Bookbinding: Creating Unique Covers
Have you mastered the mesmerizing swirls of paper marbling and are looking for a truly special way to showcase your creations? Look no further! This guide explores the wonderful combination of paper marbling and bookbinding, allowing you to craft one-of-a-kind notebooks and journals. It’s a fantastic way to elevate your paper marbling skills and create functional art pieces that you'll be proud to use or gift.
Why Marbled Paper is Perfect for Bookbinding
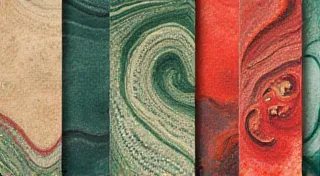
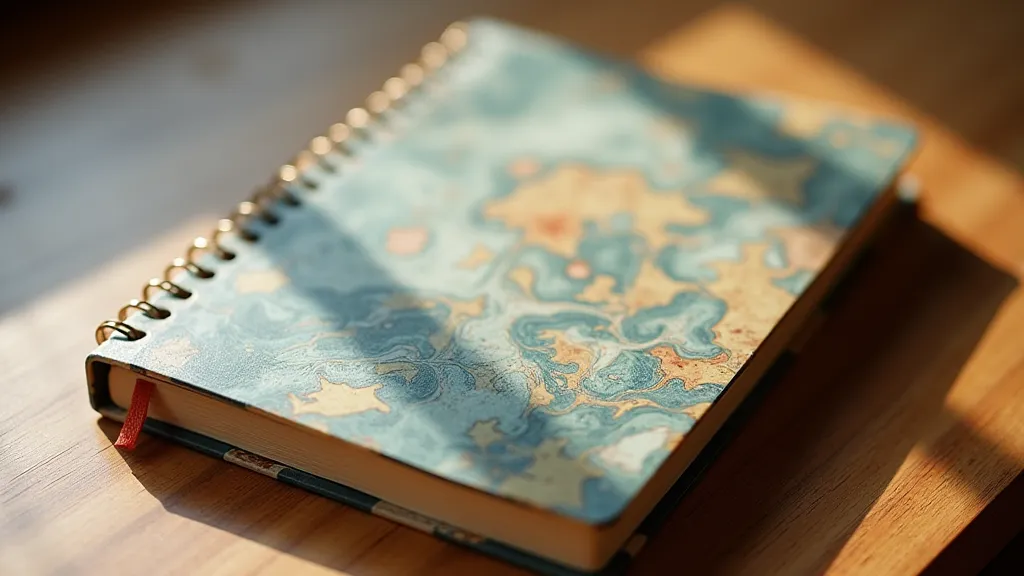
Marbled paper’s inherent beauty and individuality make it an ideal choice for book covers. Each sheet is unique, meaning your finished notebooks and journals will be truly one-of-a-kind. The decorative nature of the marbled patterns adds a touch of elegance and artistic flair that mass-produced notebooks simply can't match. Plus, the process of creating your own paper adds a layer of personal connection to the finished product.

Getting Started: Materials You’ll Need
Before you begin, gather the following materials. You're likely to have many already if you're familiar with paper marbling!
- Marbled Paper: Of course! Aim for sheets slightly larger than the dimensions of the book you intend to bind.
- Bookbinding Board: For the cover boards. Thickness depends on desired rigidity.
- Paper for the Text Block: Choose a paper that complements the marbled paper's aesthetic.
- Endpapers: These will be glued to the inside of the covers and the first page of the text block.
- Glue: PVA glue is recommended for bookbinding.
- Bookbinding Needle: A long, sturdy needle for sewing the text block.
- Thread: Strong, waxed linen thread is traditional.
- Awl: For creating holes in the cover boards.
- Cutting Mat and Ruler: For precise cutting.
- Bone Folder: To crease and smooth paper.
The Process: A Step-by-Step Guide
- Prepare the Marbled Paper: Select your favorite marbled paper sheets. Consider the colors and patterns and how they will look when folded and bound.
- Cut Cover Boards: Cut two pieces of bookbinding board to the desired size for your cover. These should be slightly larger than the text block.
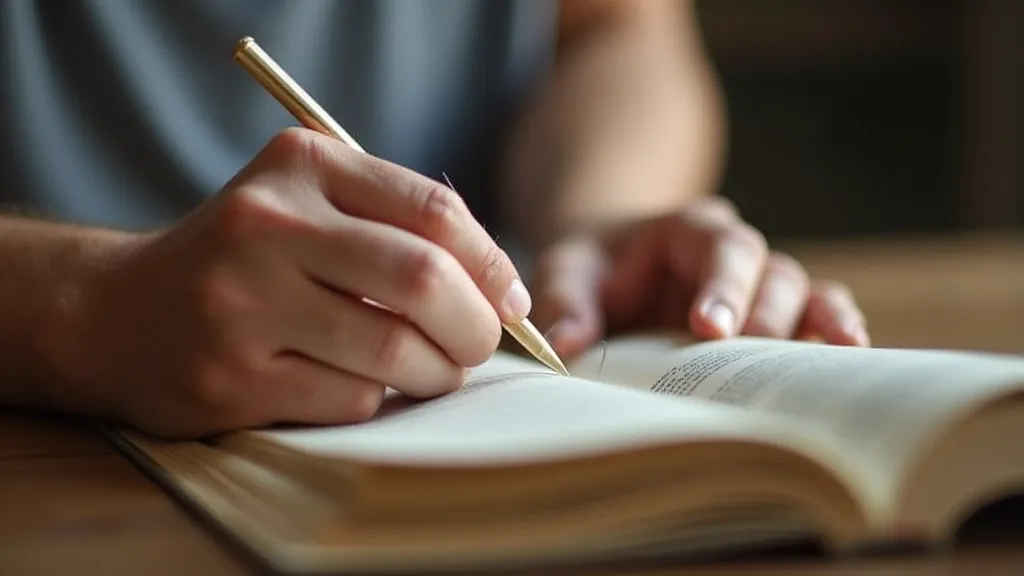
- Prepare the Text Block: Fold your paper sheets to create signatures (groups of pages folded together).
- Sew the Text Block: Using a bookbinding needle and thread, sew the signatures together along the spine. There are several sewing techniques; a simple chain stitch is a good starting point.
- Attach Endpapers: Glue the endpapers to the inside of the sewn text block.
- Prepare the Cover: Create a spine fold on your marbled paper, ensuring it’s centered.
- Attach the Text Block to the Cover: Carefully glue the text block to the prepared marbled paper cover. Ensure even distribution of the glue.
- Finish and Press: Place the finished book under a weight to press it flat while the glue dries completely.
Tips and Tricks for Stunning Results
- Paper Choice: Experiment with different paper types for both the marbled paper and the text block to achieve unique visual textures.
- Color Coordination: Think about how the colors in your marbled paper will complement the ink color you might use for writing or drawing in your journal.
- Embrace Imperfection: Paper marbling is known for its organic and unpredictable nature. Don’t strive for perfection; embrace the unique qualities of each sheet.
- Practice Makes Perfect: Bookbinding can seem daunting at first, but with a little practice, you'll be creating beautiful custom notebooks in no time.
Beyond the Basics: Exploring Advanced Techniques
Once you're comfortable with the basic process, consider exploring more advanced bookbinding techniques, such as:
- Japanese Binding: Offers a unique and visually striking style.
- Coptic Binding: Features exposed spine stitching for a decorative look.
- Leather Spine Binding: Adds a touch of luxury and durability.
Combining paper marbling and bookbinding is a rewarding creative journey. So, gather your materials, unleash your imagination, and start creating your own one-of-a-kind journals and notebooks!