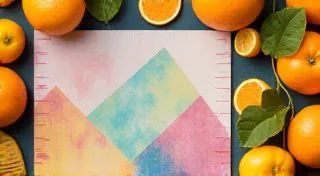
Marbling Paper with Household Items: A Budget-Friendly Guide
Paper marbling is a captivating art form, known for its swirling, organic patterns and striking beauty. Often, it’s perceived as requiring specialized (and expensive!) materials. But what if you could create stunning marbled paper using things you likely already have around your home? This guide will show you how to marble paper with household items, making this beautiful art form accessible and budget-friendly for crafters of all levels.
Understanding the Basics: What You’ll Need
The core elements of paper marbling involve a “size” (to prevent the paper from absorbing the dye), a marbling bath (where the colors float), and the paper itself. Let’s look at affordable alternatives for each:
- Size: Traditionally, alum is used as a size. A readily available alternative is cornstarch! Mix 1 tablespoon of cornstarch with 1 cup of warm water. Cook over low heat, stirring constantly, until the mixture thickens to a pudding-like consistency. Let cool completely before use.
- Marbling Bath: This is where the magic happens! You need a liquid that allows the paints to float. Options include:
- Whole Milk: Readily available and works surprisingly well.
- Dish Soap (Clear): Provides a good, stable surface for the colors.
- Tap Water + Glycerin: A combination of water and glycerin (available at pharmacies) can create a suitable bath.
- Paints/Dyes: Forget expensive marbling inks! Here's where you can be truly creative:
- Food Coloring: A surprisingly effective and inexpensive option.
- Acrylic Paint (Diluted): Dilute acrylic paint with water to create a thin, flowing consistency.
- Watercolor Paint: Similar to acrylics, watercolor paint can be diluted to create marbled patterns.
- Paper: Watercolor paper or mixed media paper is ideal. Thinner paper can tear more easily.
- Tools: Droppers, toothpicks, skewers, cotton swabs – anything you can use to manipulate the colors on the bath!
Step-by-Step: Marbling with Milk
- Prepare Your Size: As mentioned above, create your cornstarch size and let it cool completely.
- Prepare Your Bath: Pour about 1/4 inch of whole milk into a shallow tray or container.
- Size the Paper: Gently brush the cooled cornstarch size evenly onto your paper. This step is crucial; it prevents the paper from absorbing the dye. Let the paper dry completely (this may take several hours or overnight).
- Drop the Colors: Using droppers or toothpicks, carefully drop small amounts of your chosen colors onto the surface of the milk bath. Don’t stir!
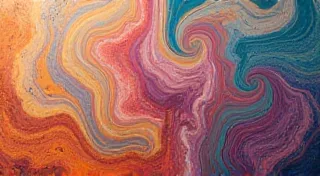
- Create Patterns: Use toothpicks, skewers, or cotton swabs to gently swirl and manipulate the colors. Experiment with different tools and techniques to create unique patterns. Raking, combing, and swirling are all popular methods.
- Lay the Paper: Gently lay your sized paper onto the surface of the colored bath. Let it rest for a few seconds, then carefully lift it straight up.
- Rinse and Dry: Rinse the paper under cool water to remove excess dye. Lay flat to dry, or hang it to dry.

Tips for Budget-Friendly Marbling
- Experiment with Different Liquids: Don't be afraid to try different combinations of liquids to find what works best for you.
- Reuse Your Bath: Depending on the colors used, you may be able to reuse your marbling bath a few times.
- Start Small: Begin with smaller pieces of paper to practice and minimize waste.
- Embrace Imperfection: Marbling is inherently unpredictable. Embrace the unique patterns and variations that emerge.
Beyond the Basics: Exploring Techniques
Once you're comfortable with the basic process, you can experiment with more advanced techniques like:
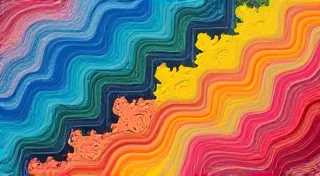
- Pattern Combs: Use combs with varying tooth spacing to create linear patterns.
- Drop Rolling: Use a rolling pin to manipulate the colors on the bath.
- Layering Colors: Create complex patterns by layering different colors on top of each other.
Marbling paper with household items is a rewarding and budget-friendly craft. With a little experimentation and creativity, you can create beautiful and unique decorative paper for all your paper crafting needs. Happy marbling!